Last updated November 22, 2026
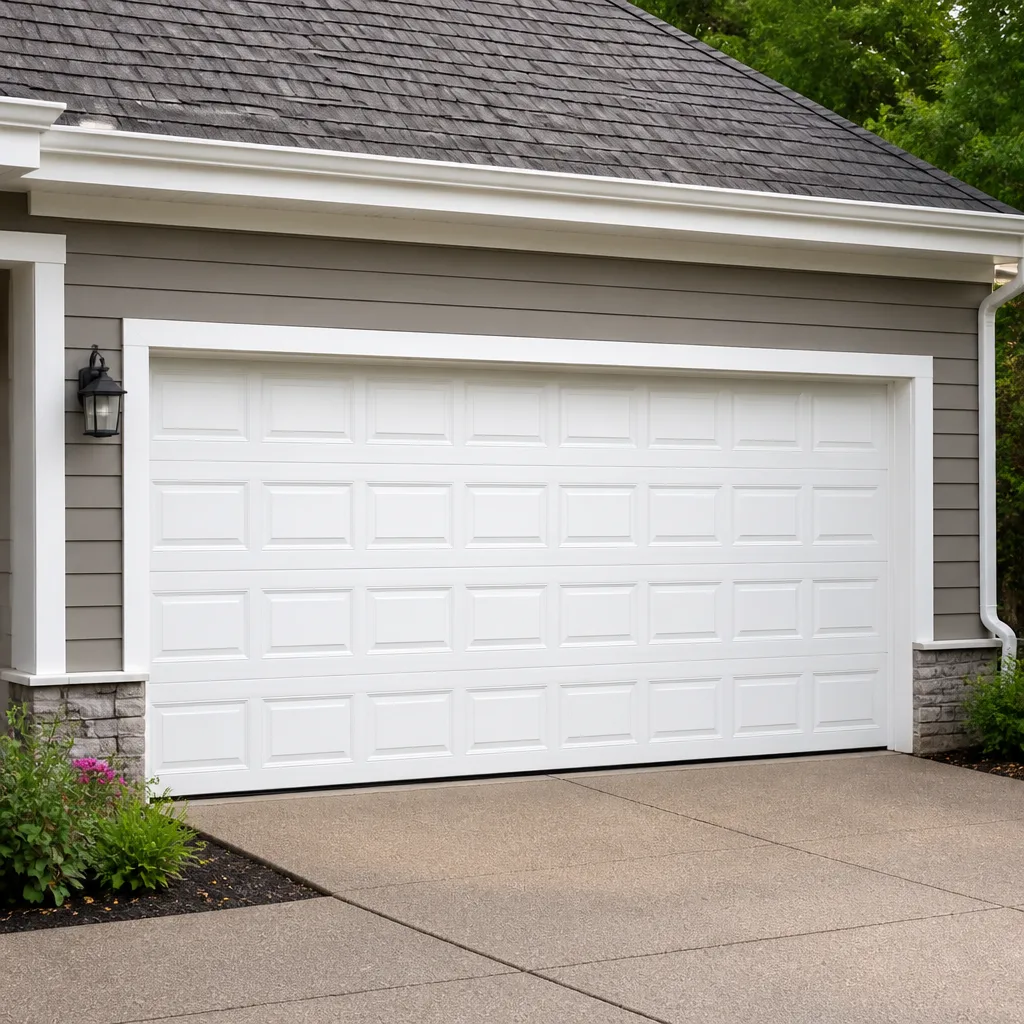 Raised-panel steel
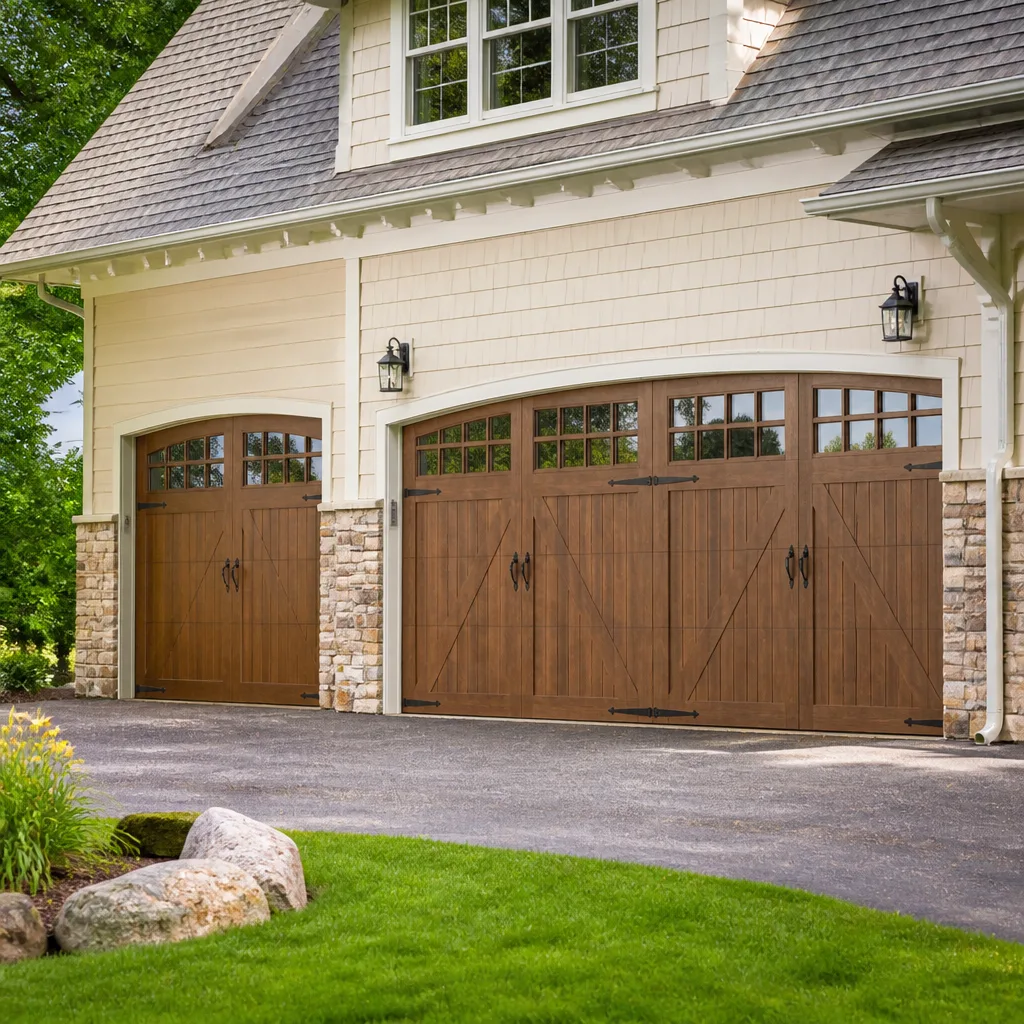 Carriage house
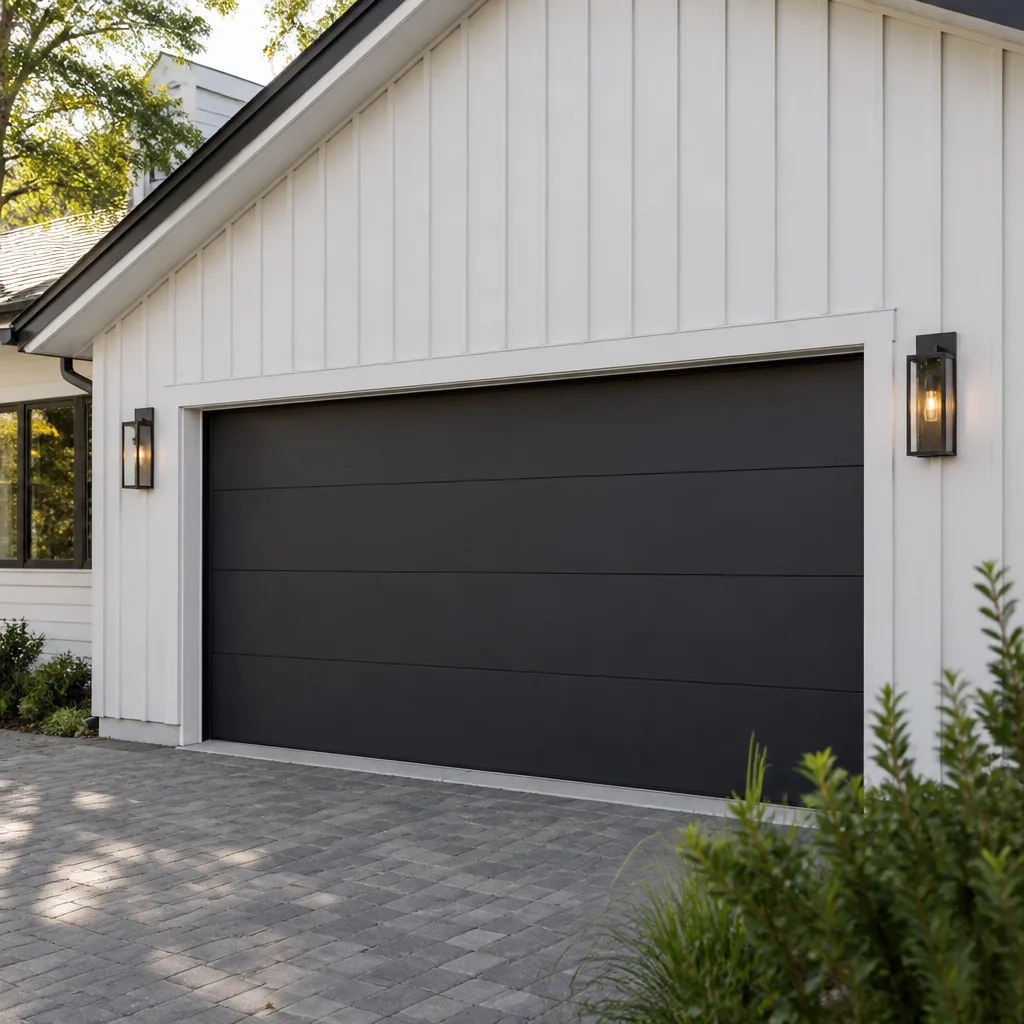 Modern flush
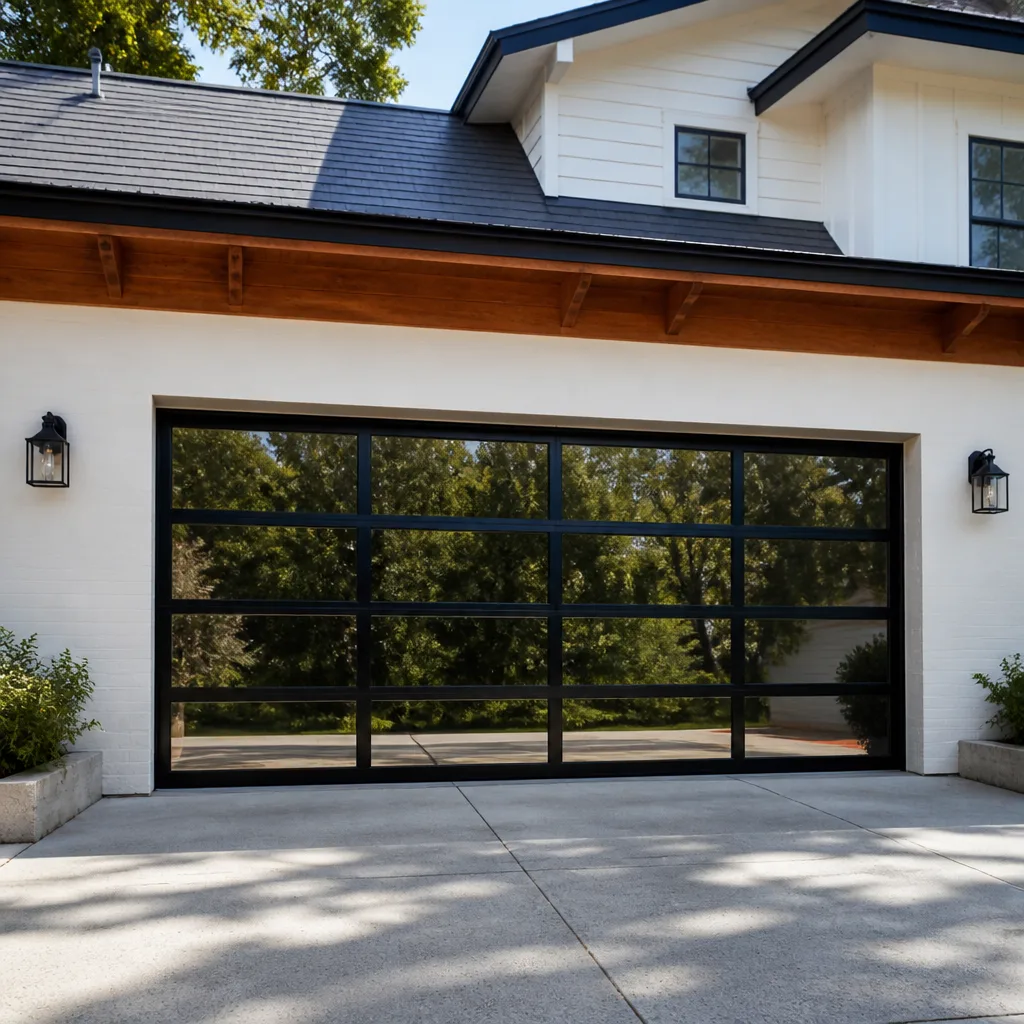 Full-view glass
 LiftMaster openers
 Chamberlain openers
Full 25-point door and opener safety check with every visit - springs, cables, rollers, tracks, and your LiftMaster or Chamberlain opener included
You get a price before we start. It does not change when the pro arrives.
Get your free estimateGarage Door Repair Maintenance Checklist for Plainfield Homeowners
Here’s the thing most garage door checklists get wrong: they start at the top. Springs, cables, hinges, opener. But in Plainfield, the door usually doesn’t fail from the top down. It fails from the ground up. Our wet winters and freeze-thaw swings push water against the bottom seal, that water wicks up into the track and its steel mounting hardware, and a few seasons of quiet rust does more damage than any worn roller. This guide walks the real failure sequence, component by component, with the sounds, spots, and movement cues that tell you a part is weeks from letting go. You’ll also get the opener safety tests almost nobody runs and a seasonal calendar built around actual Plainfield weather.
Quick Answer
A garage door maintenance checklist for Plainfield should cover the bottom seal and weather stripping first, then track hardware and rollers, then hinges and cables, springs, and finally the opener’s safety reverse and force settings. Check the seal and tracks twice a year before and after winter, listen for popping or grinding sounds from the springs, and test auto-reverse monthly. Most of the list you can do yourself in about 20 minutes; springs, cables, and anything high-tension should go to a trained technician.
Styles & brands we work with
- Raised-panel steel
- Carriage house
- Modern flush
- Full-view glass
- LiftMaster openers
- Chamberlain openers
Table of Contents
- Why the Bottom of Your Door Fails First
- Step 1: The Bottom Seal and Weather Stripping
- Step 2: Tracks, Hardware, and Rollers
- Step 3: Hinges, Fasteners, and Cables
- Step 4: Springs and the Sounds That Warn You
- Step 5: Lubrication Done Right
- Step 6: Testing Your Opener’s Safety Features
- The Plainfield Seasonal Checkpoint Calendar
Why the Bottom of Your Door Fails First
Garage doors fail in a predictable order, and it has almost nothing to do with which part is most complicated. It has everything to do with where water goes. The bottom seal and the weather stripping along the sides and top are the only barrier between your door’s steel hardware and the outside. When that barrier breaks down, water doesn’t announce itself. It wicks behind the track, sits against the bolts and angle brackets, and rusts them from the back where you can’t see it. By the time the track starts to bow or the door drags on one side, the corrosion has been working for a while.
Plainfield’s climate drives this harder than a lot of places. Winters bring repeated freeze-thaw cycles, and every time meltwater gets behind the seal and refreezes, it expands. That expansion pries at the seal, the threshold, and the fasteners a little more each round. A door that looks fine in July can be quietly losing its bottom seal by February.
That’s why this checklist is ordered by failure frequency rather than alphabetically. The parts that take the most abuse from Plainfield weather come first, and the parts that are dangerous to touch come last with a clear warning. Homeowners who work through it in this order tend to catch problems while they’re still cheap, before a worn seal turns into a rusted track or a stuck door on a cold morning. If you’d rather hand the whole inspection to someone who does this daily, that’s exactly what our Garage Door Repair Plainfield Pros team is set up for.
Step 1: The Bottom Seal and Weather Stripping
Check the bottom seal before anything else. Run your hand along the full width under the closed door and feel for gaps, hard or cracked rubber, and any spot where daylight shows through. A seal that’s flattened, split, or pulling away from its track is letting water and cold air in, and that’s the first domino.
Then look at the weather stripping on the sides and top. Push on it gently. It should be soft and spring back. If it’s stiff, cracked, or brittle, it’s done its job for the last time. In Plainfield, that stiffness usually shows up after the first hard freeze.
Here’s what to inspect and what a problem looks like:
- Bottom seal: cracks, flattening, or daylight at the floor line. Water tracking inside during a rain means it’s failing.
- Side weather stripping: gaps at the corners, stiffness, or peeling away from the jamb.
- Threshold: pooled water after a storm, or a soft, spongy feel underfoot near the door.
- Bottom bracket area: rust streaks running down from the lowest hinge or bracket. That’s your early warning that the seal has been leaking.
Replacing a bottom seal is one of the least expensive maintenance items on a door, and it protects the expensive parts above it. If your seal is gone and the door has started to drag or the brackets look rusted, it’s time for garage door repair rather than a simple seal swap. A free estimate tells you which one you’re looking at.
Step 2: Tracks, Hardware, and Rollers
With the seal handled, move to the tracks and rollers. Stand back and look at the vertical and horizontal tracks from the side. They should be parallel and straight. Any bend, bow, or kink is a problem, because a bent track forces every roller that passes through it to drag.
Now the rollers. Open and close the door slowly by hand (with the opener disconnected if your door has a manual release) and listen. Rollers should roll quietly. A grinding, squeaking, or rumbling sound means a roller has worn flat, lost a bearing, or picked up rust. Nylon rollers crack and chip; steel rollers rust and seize. Either way, a bad roller wears the track it runs in.
- Look down each track from top to bottom. Mark any bend or dent.
- Run the door by hand and listen for grinding or squealing at each roller.
- Check that every roller spins freely and sits fully seated in its hinge.
- Look at the bolts holding the track brackets to the wall. Loose brackets let the whole track shift.
- Check the horizontal tracks for sag. A sagging track is a sign the door is heavier than the springs are lifting, which points to Step 4.
Rust on the track and its bolts is the classic Plainfield signature of a leaking bottom seal. If you find it, look at the door’s lowest hardware first. That’s where the story starts.
Step 3: Hinges, Fasteners, and Cables
Hinges and fasteners are easy to overlook because they rarely break all at once. They loosen. Walk the door panel by panel and check that every hinge is tight and every bolt is snug. A loose hinge lets the panel shift, and a shifted panel throws the door out of alignment.
Cables are a different matter. Look at them, don’t touch them. You’re checking for fraying, kinks, or slack. Cables on a sectional door carry serious tension, and a frayed cable is a cable close to failing. This is a visual check only. We’ll come back to that in a moment.
- Hinges: tight, straight, and not bent or cracked. A bent hinge forces the panel out of line.
- Bolts and brackets: snug. Loose fasteners let the door rattle and shake.
- Cables: no fraying, kinks, or slack. If you see any of those, stop and call.
- Panels: no cracks, dents, or separation at the seams, especially on steel doors that take temperature swings.
A note on the brands you’ll find around Plainfield: whether your door is a Wayne Dalton, an Amarr, or an older Craftsman, the hinge and cable checks are the same. What changes is the parts, not the process. If a hinge is failing on a specific door model, matching the right replacement is half the job, and it’s why we ask what brand you have before we arrive.
Step 4: Springs and the Sounds That Warn You
Springs are where the checklist turns serious. A torsion spring or extension spring holds the entire weight of the door in tension, and when one gives way it does so with a loud bang. You should never adjust, remove, or touch a spring yourself. What you can do is listen.
A spring weeks from snapping usually gives you a warning, if you know what to hear:
- Popping or snapping sounds as the door goes up or down. A spring that’s cracking along its coil makes a distinct pop.
- A door that feels suddenly heavy when you lift it by hand with the opener disconnected. Springs that have lost tension make the door feel much heavier than usual.
- A door that slams down hard instead of easing closed. That’s a tension problem.
- A visible gap in the coil on a torsion spring, or a stretched, sagging extension spring.
- The door stopping partway or looking crooked as it opens. One spring failing while the other still works will throw the door off balance.
If you hear popping, see a gap in the spring, or the door suddenly feels twice as heavy, stop using the door and call. Driving a door with a failing spring forces the opener to lift weight it wasn’t built to lift and puts the whole system under stress. Our garage door spring repair service exists specifically because this is a high-tension job that deserves a trained technician, not a weekend attempt. Springs usually get replaced as a matched pair, since a partner spring that’s just as old is usually close behind.
Step 5: Lubrication Done Right
Lubrication is the step where well-meaning homeowners cause the most damage. The instinct is to grab whatever’s in the garage and spray everything that moves. That instinct is wrong, and it can cost you a set of rollers.
The big mistake: WD-40, silicone sprays, and general-purpose household oils on nylon rollers and plastic components. Those products attract dirt and grit, and they dry out plastic over time, leaving a sticky residue that collects debris and grinds the nylon down faster. Nylon rollers don’t want oil. They want to stay clean.
What to actually lubricate, and with what:
- Steel rollers and hinges: a white lithium grease or a purpose-made garage door lubricant. Apply a light film, not a drenching.
- Torsion springs: a light coat of garage door lubricant reduces friction and squeal. This is a spray, not a disassembly. Never put your hands or tools on a spring under tension.
- Nylon rollers and plastic parts: wipe clean, don’t oil. Keep them free of grit and grease.
- Tracks: clean, don’t grease. A dry track with clean rollers runs better than a greased track that collects dust and grime.
A simple rule: metal that moves against metal wants a light lubricant. Plastic and nylon want to be clean. If you’re not sure what a component is made of, clean it and leave it alone. When we do a repair, part of the job is looking at what previous lubrication has done to the rollers, because a silicone-soaked nylon roller is often the reason a door that should run quiet doesn’t.
Step 6: Testing Your Opener’s Safety Features
This is the safety check most homeowners have never performed, and it’s the one that matters most for anyone relying on their garage as a main entry. Your opener has two safety features that need testing: auto-reverse and force sensitivity. Both are designed to stop the door from crushing something in its path.
How to test auto-reverse
- Open the door fully, then place a solid object like a rolled-up towel or a brick on the floor in the door’s path.
- Close the door using the opener.
- The door should reverse when it contacts the object, before applying real force. If it presses down and stops instead of reversing, the safety system needs attention.
How to test force sensitivity
- With the door open, hold the bottom edge lightly as the door closes.
- The door should reverse with very little resistance. If it pushes hard against your hand before reversing, the force setting is too high and needs adjustment.
- Repeat this check monthly. It’s a 30-second test that catches a dangerous problem early.
If either test fails, don’t keep using the door. An opener that won’t reverse or that closes with too much force is a hazard, and the adjustment usually belongs with a technician. Our garage door opener repair team works on LiftMaster, Chamberlain, Genie, and Craftsman units, including the safety settings that most people never touch. If your door won’t move at all, call (877) 792-6208 and we’ll get you on the schedule.
The Plainfield Seasonal Checkpoint Calendar
Quarterly advice is generic. Plainfield has a real seasonal rhythm, and the checks that matter change with it. Here’s how we’d map the calendar for a door in this area.
- Late fall, before the first hard freeze: this is the big one. Check the bottom seal and weather stripping for gaps and stiffness, clear the tracks, and look for rust on the lowest hardware. Water that gets in now will freeze and expand all winter. This is the checkpoint that saves the most money.
- Mid-winter, after a freeze-thaw stretch: watch for ice building up at the threshold and a seal that’s stiffened or pulled away. Test the opener’s safety reverse while the door is cold, because mechanisms behave differently in the cold.
- Early spring, when the thaw starts: check for water pooled at the door base, rust streaks, and a seal that took a beating over the winter. Lubricate the steel rollers and hinges and clean the nylon ones.
- Summer before the hot, dry stretch: check the springs for popping or gaps after a winter of heavy use, look at the panels for heat-related cracking on steel doors, and re-test the opener safety features.
If your door is on a specific brand, a LiftMaster or Chamberlain opener’s safety settings, or a Wayne Dalton or Amarr door’s rollers and hinges, the seasonal checks are the same. What changes is the parts and the adjustment. Whatever your brand, the two dates that matter most are before the first freeze and after the thaw. Everything else is a lighter touch.
Common Mistakes to Avoid
- Starting at the springs and ignoring the seal. The springs get all the attention, but a leaking bottom seal is what quietly rusts the hardware that fails first. Check the seal first, every time.
- Spraying WD-40 or silicone on nylon rollers. It feels productive, but it attracts grit and degrades plastic. Clean nylon rollers instead of oiling them.
- Greasing the tracks. A lubricated track collects dust and debris and grinds up rollers. Tracks should be clean and dry.
- Never testing auto-reverse or force sensitivity. Most homeowners have never run either test. Both take under a minute and both matter.
- Trying to adjust a torsion spring yourself. This is the single most dangerous mistake on this list. Springs are under enormous tension. Only a trained technician should touch them.
- Ignoring popping sounds because “the door still opens.” A popping spring is warning you. A door that keeps working is not a door that’s safe.
- Ignoring winter water at the threshold. In Plainfield, standing water at the base during a thaw is the start of a rust problem you’ll pay for later.
See the difference
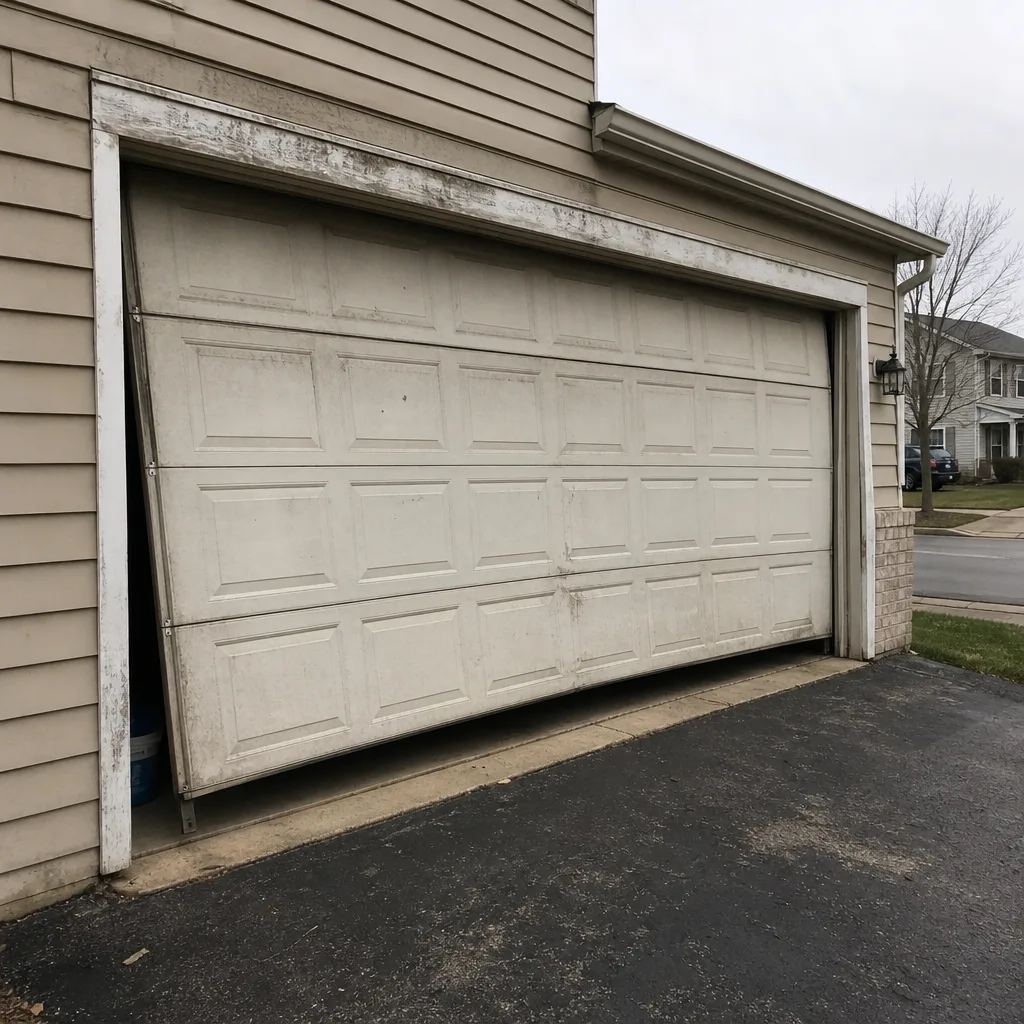 Before
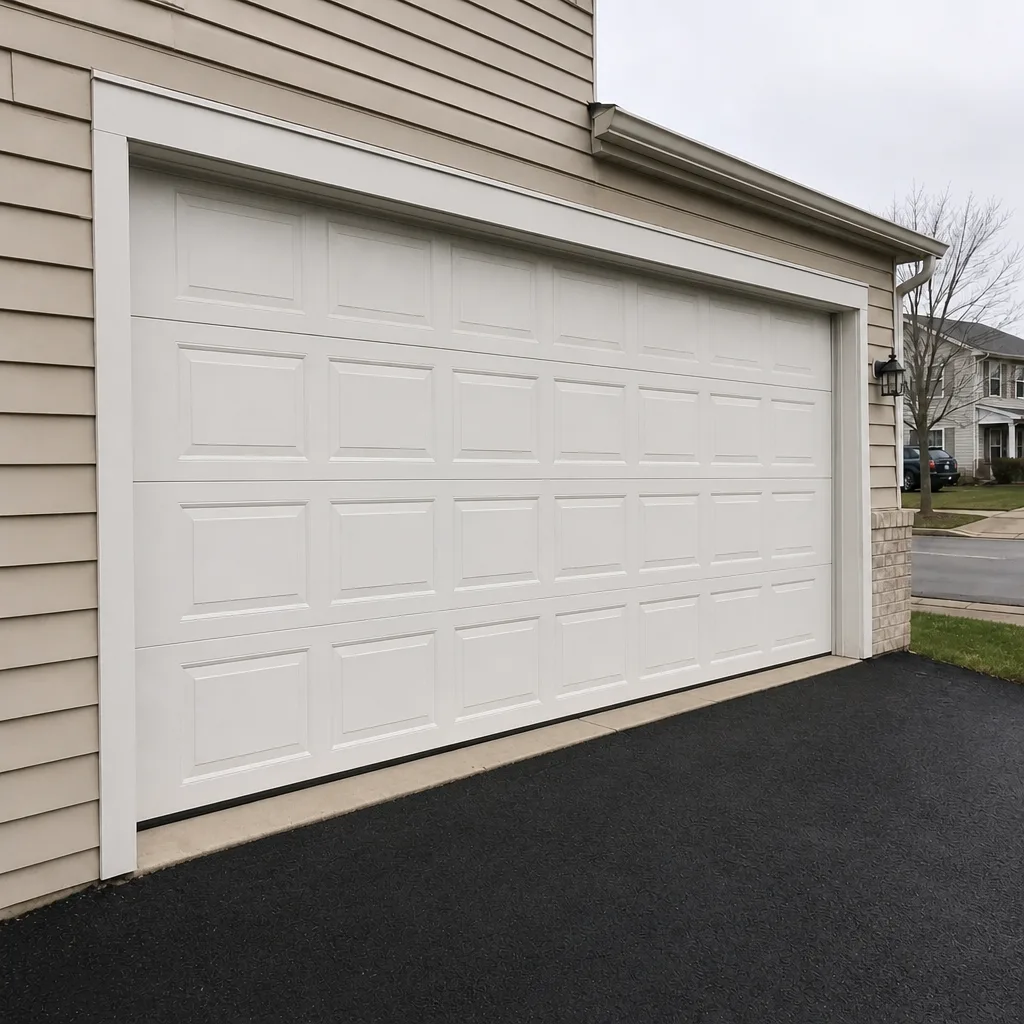 After
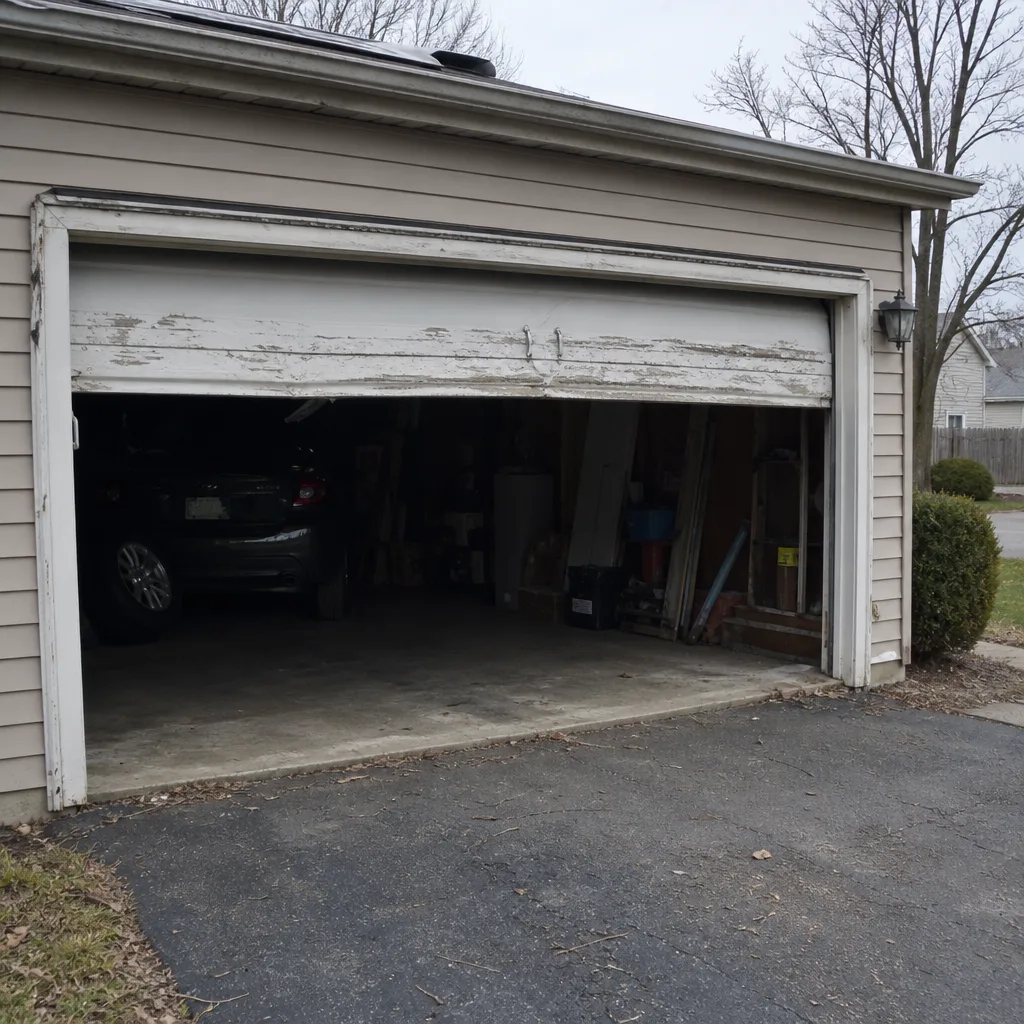 Before
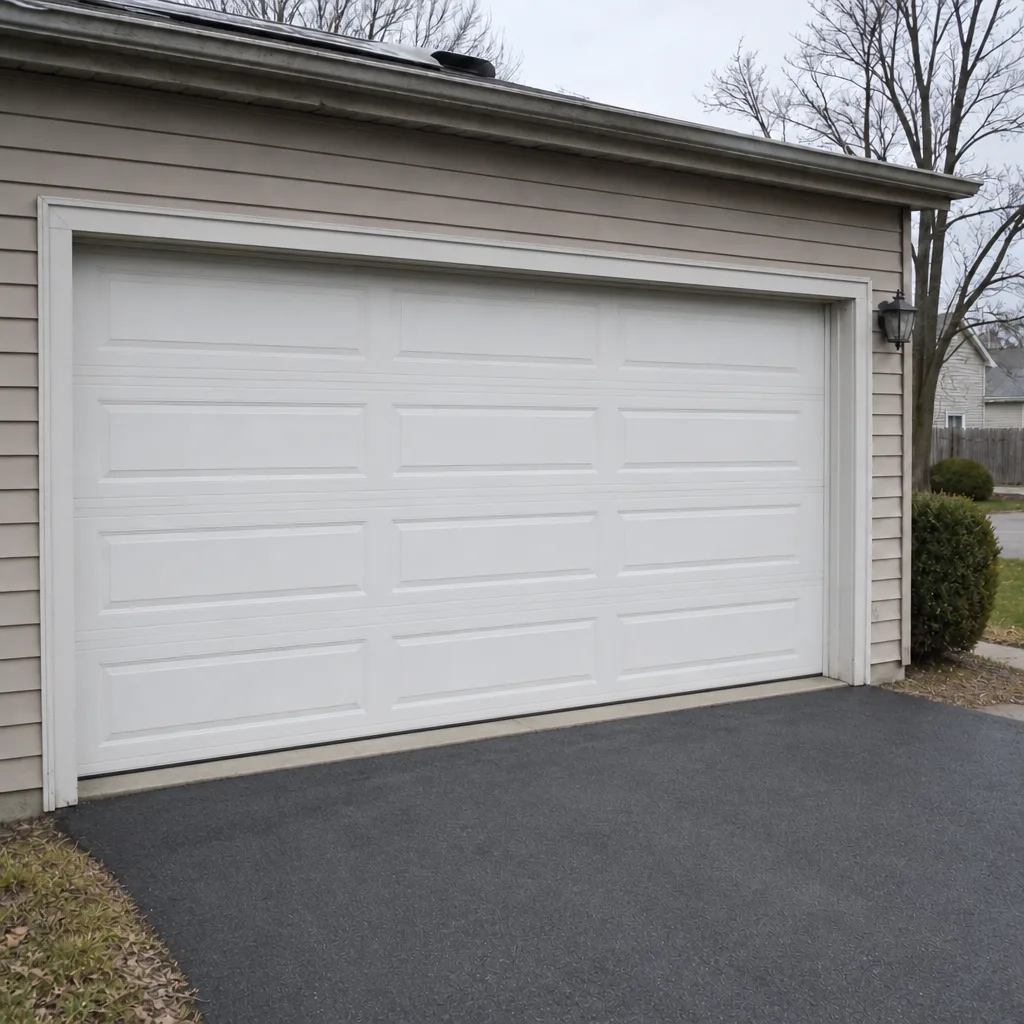 After
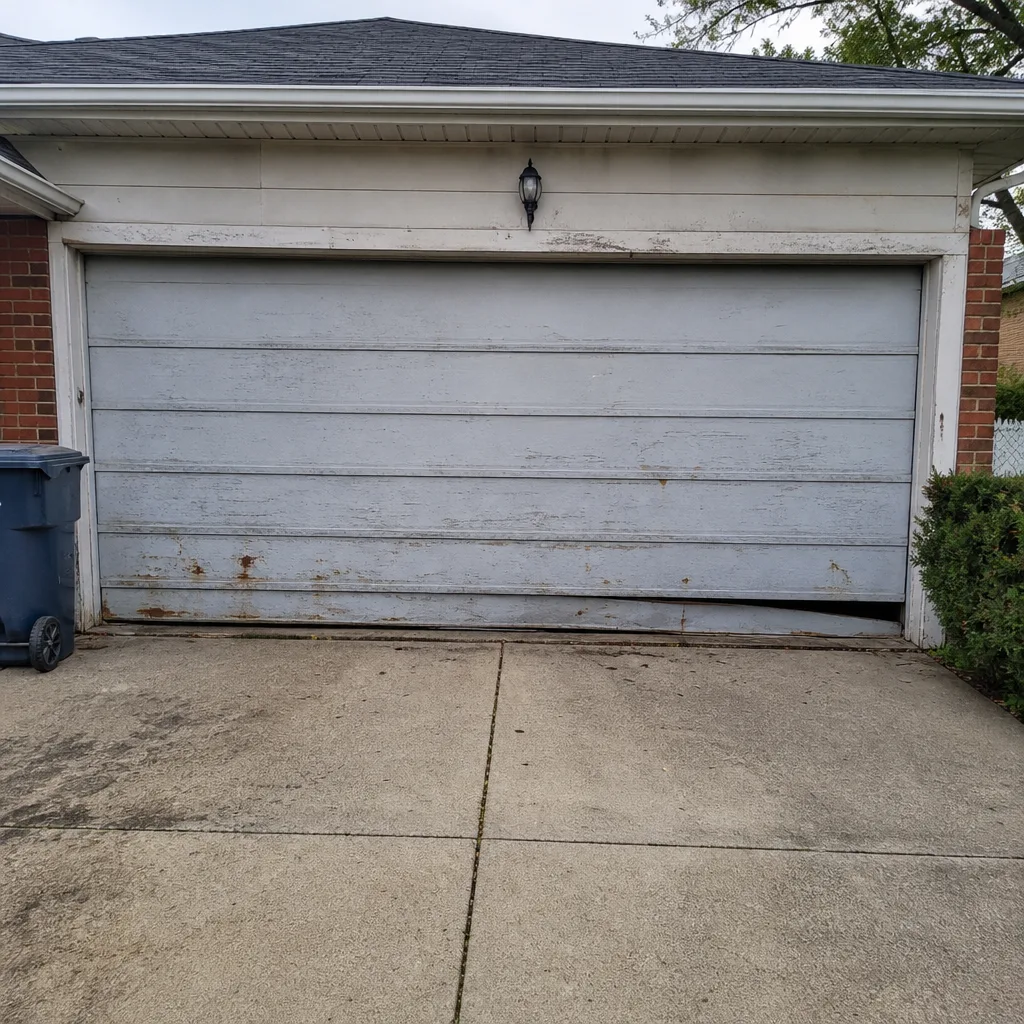 Before
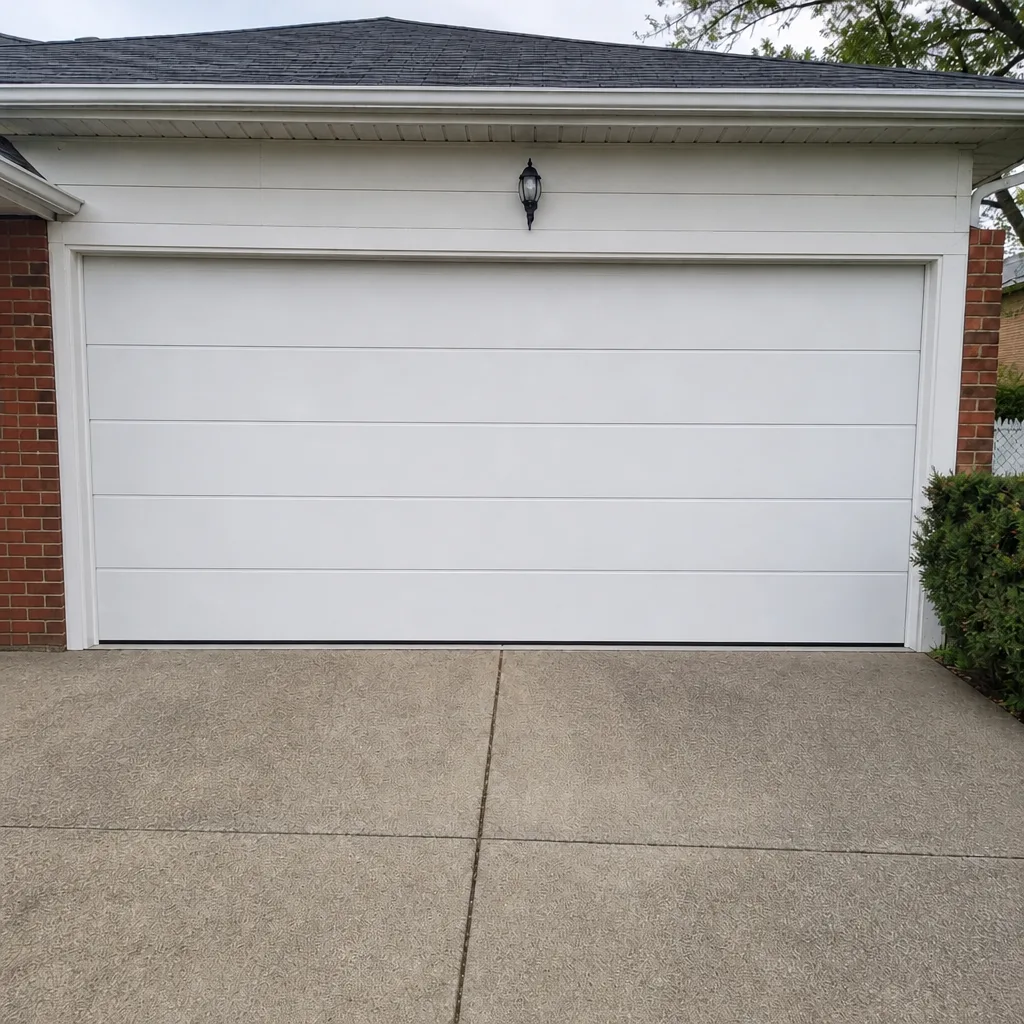 After
When to Call a Professional
Some checks on this list are for you: the seal, the tracks, the rollers, the lubrication, the opener safety test. Others aren’t. Call a technician the moment you hear popping from a spring, see a frayed cable, notice a door that’s suddenly heavy or crooked, or find an opener that fails the reverse test. Rusted, bent tracks and a door that’s come off its rollers are also professional work. And if your door won’t move at all, emergency service is part of what we do, so don’t wait it out. Garage Door Repair Plainfield Pros offers free estimates in Plainfield. Call (877) 792-6208 and we’ll take a look before a small problem turns into a snapped spring or a door stuck open.
Frequently Asked Questions
Twice a year at minimum, ideally before the first hard freeze in late fall and again after the spring thaw. Plainfield’s freeze-thaw cycles stress the bottom seal and track hardware, so those two checkpoints catch most problems while they’re still cheap. Add a monthly auto-reverse and force test for the opener.
It usually sounds like a pop or a snap as the door goes up or down, sometimes followed by the door feeling unusually heavy or slamming closed. A torsion spring may also show a visible gap in the coil. If you hear popping, stop using the door and call a technician rather than trying to inspect the spring yourself, because springs are under dangerous tension.
Yes for steel rollers and hinges, with a light white lithium grease or purpose-made garage door lubricant. Don’t use WD-40 or silicone sprays on nylon rollers or plastic parts, because they attract grit and can degrade the plastic. Clean nylon rollers instead of oiling them, and never put hands or tools near a torsion spring.
Open the door, place a solid object like a brick on the floor in its path, and close the door with the opener. The door should reverse when it meets the object rather than pressing down. If it doesn’t reverse, the safety system needs a technician.
Almost always because a worn bottom seal or weather stripping is letting water wick behind the track and its mounting hardware. Plainfield winters freeze that water, expand it, and pry at the fasteners. Fixing the seal protects the hardware above it. If the track is already bent or badly rusted, that’s a repair.
You can handle the seal inspection, track and roller checks, cleaning, lubrication, and the opener safety tests. Springs, cables, and anything under high tension should only be touched by a trained technician. If you’re not sure where a problem sits, a free estimate settles it.
The Bottom Line
The order on this checklist is the point. Start with the bottom seal and weather stripping, because that’s what fails first in Plainfield and what quietly rusts everything above it. Then work up through the tracks, hardware, and hinges, listening as you go. Springs are a listen-and-call, never a touch. Lubricate with the right product and keep nylon rollers clean. Test the opener’s safety reverse and force settings monthly, even though almost nobody does. Come back to it before the first freeze and after the thaw. If you want the whole list checked by someone who works on doors every day, call (877) 792-6208 for a free estimate.
Garage Door Repair Plainfield Pros repairs doors, openers, and springs, installs new doors, and handles emergency calls across Plainfield. Our technicians have up to 8 years of experience and work on LiftMaster, Chamberlain, Genie, Clopay, Amarr, Wayne Dalton, Craftsman, and Raynor systems. Call (877) 792-6208 for a free estimate.
Written by the team at Garage Door Repair Plainfield Pros.